Getting Started
For a first session, start with a folder containing a few test photos:
- Choose File > Open Folder… and open the folder.
- Select a photo and press Space to inspect it. Use 1–5 to rate it and the arrow keys to review the next photo.
- Return to the grid, filter to your chosen ratings, and select the photos you want to keep.
- Open Quick Transfer, choose Copy, a separate empty folder, and Append Number for existing files. Check the copied files before removing any originals.
The sections below explain the controls and other source choices. Renaming, deleting, client lists, and reusable workflows are optional next steps.
Press Cmd + / to open Settings > Keyboard Shortcuts and review or customize your key bindings.
1) Load Your First Source
PhotoCuller supports several common starting paths. You can use one or several in the same session:
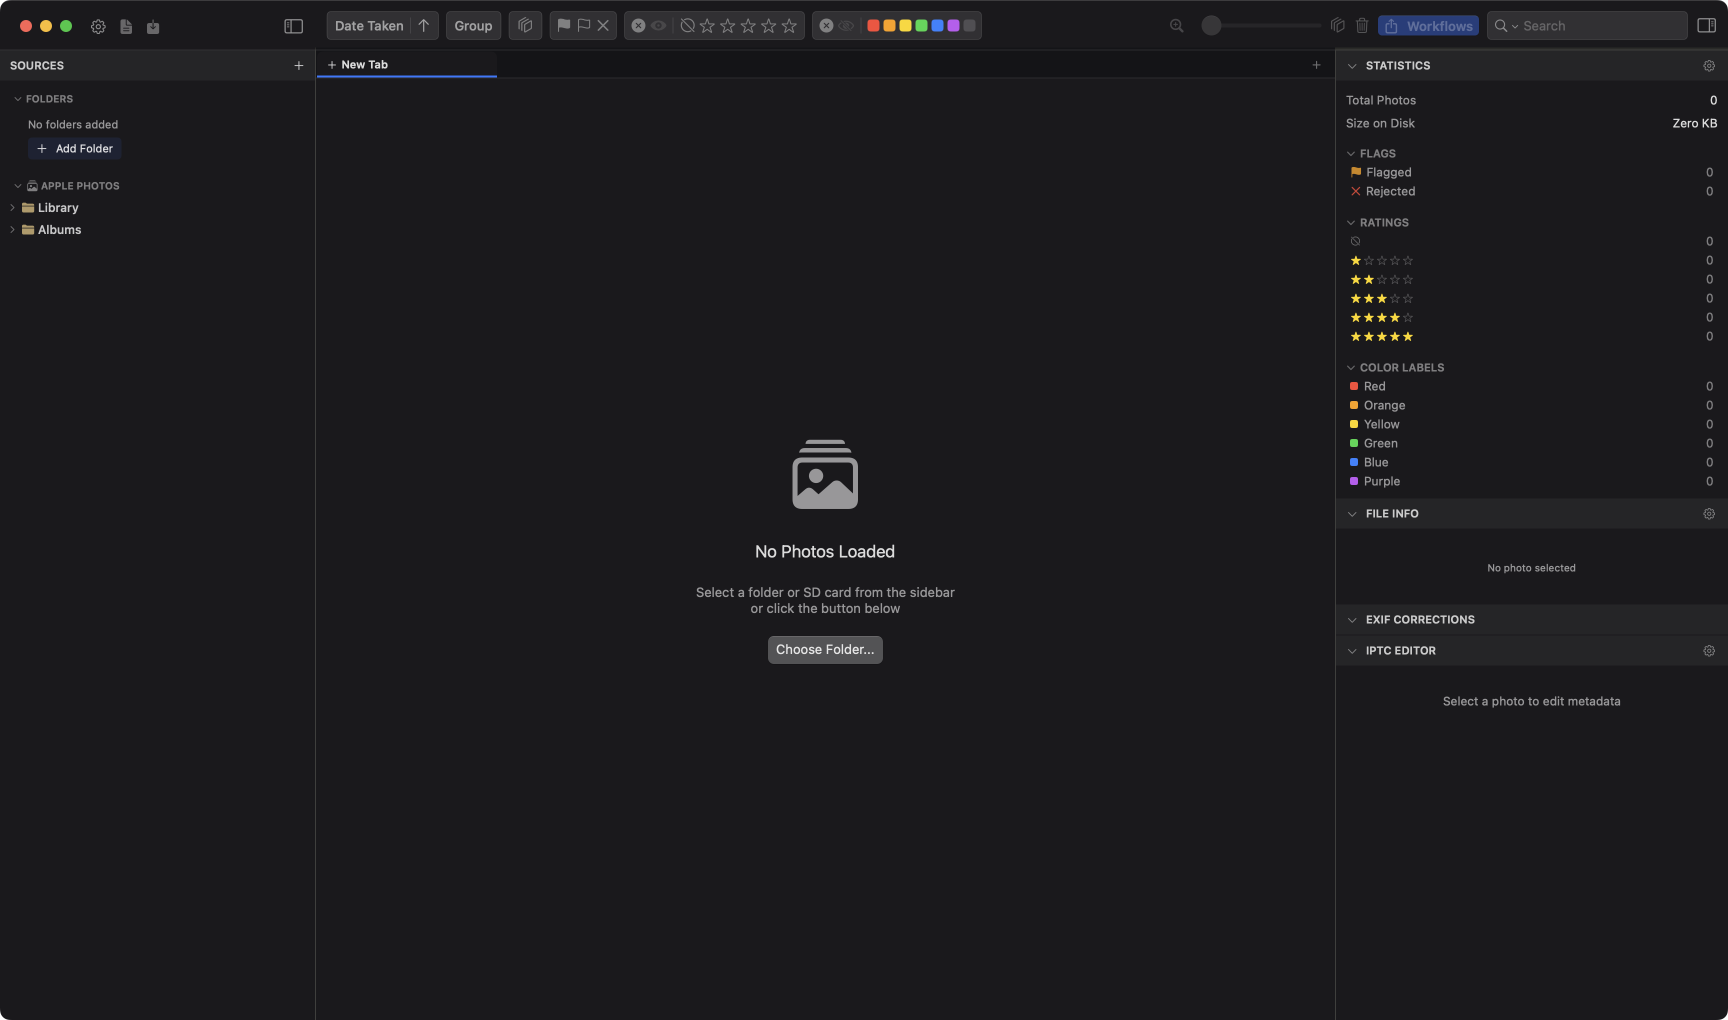
- Local folder: Click + in the sidebar (or Choose Folder in empty state), pick a folder, then open it.
- Network location: Click + -> Network Location, add your path, then open it.
- Apple Photos album: Grant Photos access when prompted, then open an album from Apple Photos in the sidebar.
- Connected camera: Find a supported camera under Devices, right-click it, and choose Open. Camera culling metadata stays in PhotoCuller rather than being written to the card; see camera sources.
- Ingest: Click the toolbar Ingest button to copy from a card, folder, or camera into a folder or Apple Photos destination with naming and optional metadata.
For lightweight review copies, Fast Ingest extracts JPEG previews and Convert RAW creates JPEG/HEIF images. Neither copies the RAW originals. Keep the source and leave formatting off until the originals have been separately backed up and verified.
To include photos in nested folders, right-click the folder in the sidebar and choose Open in Current Tab with Subfolders or Open in New Tab with Subfolders.
2) Core Culling Controls
Basic Navigation
- Navigate: W/A/S/D or arrows
- Open/close Full View: Space
- Exit overlay/tools: Esc
Select photos
- Add/remove from selection: Cmd + Click
- Range select: Shift + Click
- Select all: Cmd + A
Ratings, labels, and flags
- Star Rating: 1 to 5
- Clear rating: 0
- Color labels: Shift + 1 to 6
- Clear color label: Shift + -
- Flag: F
- Toggle rejection: R
Full View review tools
- Compare two / four photos: Q / Shift + Q
- Previous / next comparison set: Option + ←/→
- Histogram: H
- Exposure warnings: J
- Focus peaking: K
- Loupe: Z
- Subject Panel: G
See Full View for detailed behavior.
Tabs and multiple sources
Use tabs to keep different folders, albums, or jobs open. Tab titles come from their sources; tabs cannot be renamed or duplicated.
- New tab: Cmd + T
- Next/previous tab: Cmd + Shift + ] / [
- Close active tab: Cmd + W
See Sources, Sidebar, and Tabs for complete source-loading modes and full tab shortcuts.
3) Quick Organize Actions
Delete selected or rejected
- Delete selected: Delete or Backspace
- Delete all rejected: Cmd + Shift + Delete
For filesystem selections containing RAW and Non-RAW pairs, the photo context menu offers:
- Move to Trash for the selected items
- Selective Delete > Move RAW to Trash for the RAW files only
- Selective Delete > Move Non-RAW to Trash for the Non-RAW files only
If the source has no Trash, these actions use permanent deletion instead. Settings > General > File Actions > Confirm before deleting photos is enabled by default; turning it off lets direct delete commands run without PhotoCuller’s confirmation. Review the items before using either shortcut; Delete All Rejected depends on the current browser view.
Filesystem deletion uses Trash only when supported. If Trash fails, PhotoCuller may offer permanent deletion; cancel if you need to keep the files. Apple Photos deletion goes to Recently Deleted, while FTP and camera deletion is permanent when supported. See deletion behavior before bulk removal.
Rename items
Use Rename Item(s) from context menu to rename with template variables.
- Example:
{Year}{MonthNumber}{Day}_{Sequence} - All related files for an item are renamed together.
See Quick Transfer and Rename for the full sheet options.
Quick Copy/Move
Use Copy/Move Item(s) from context menu for one-off transfers.
- Set destination + templates
- Choose file type filter + collision handling
- Save preferences between runs
See Quick Transfer and Rename for Apple Photos export behavior, session variables, and rename details.
For repeatable multi-destination pipelines, use Workflows.
4) Sorting, Grouping, and Filters
Use toolbar controls to narrow your view while culling:
- Sort by date, filename, rating, file size, and more
- Group by hour/day/week/month/year/stack
- Filter by stacks, flags/rejects, ratings, and color labels
- Save reusable combinations as Filter Presets and apply them from the toolbar picker when you want the same subset again later
If you want those saved combinations to become part of a repeatable delivery flow, use them again in Filter Presets and Workflows.

In stack-grouped mode, filter controls are intentionally disabled because all visible items are already stack members.
5) Handle Client Pick Lists
When a client sends filenames or proof numbers back to you:
- Use Tools > Client Selection… to match filenames or visible image numbers
- Turn on Show image numbers if you are matching by proof number
- Select the intended items, then use File > Save Selection… to save that selection with optional culling metadata. File > Load Selection… loads a saved list; it can restore metadata as well as the selection.
See Client Selection and Tools for the full workflow.
6) Finish the Session
Typical end-of-session options:
- Save editor changes, then run a workflow from the editor or the right panel
- Move keepers to archive/delivery folders
- Remove rejected items
- Save ingest presets, filter presets, or reusable workflows for next job