Full View
Full View gives you a larger preview for culling and comparison. This guide describes the Mac controls; see touch controls for iPad and iPhone.
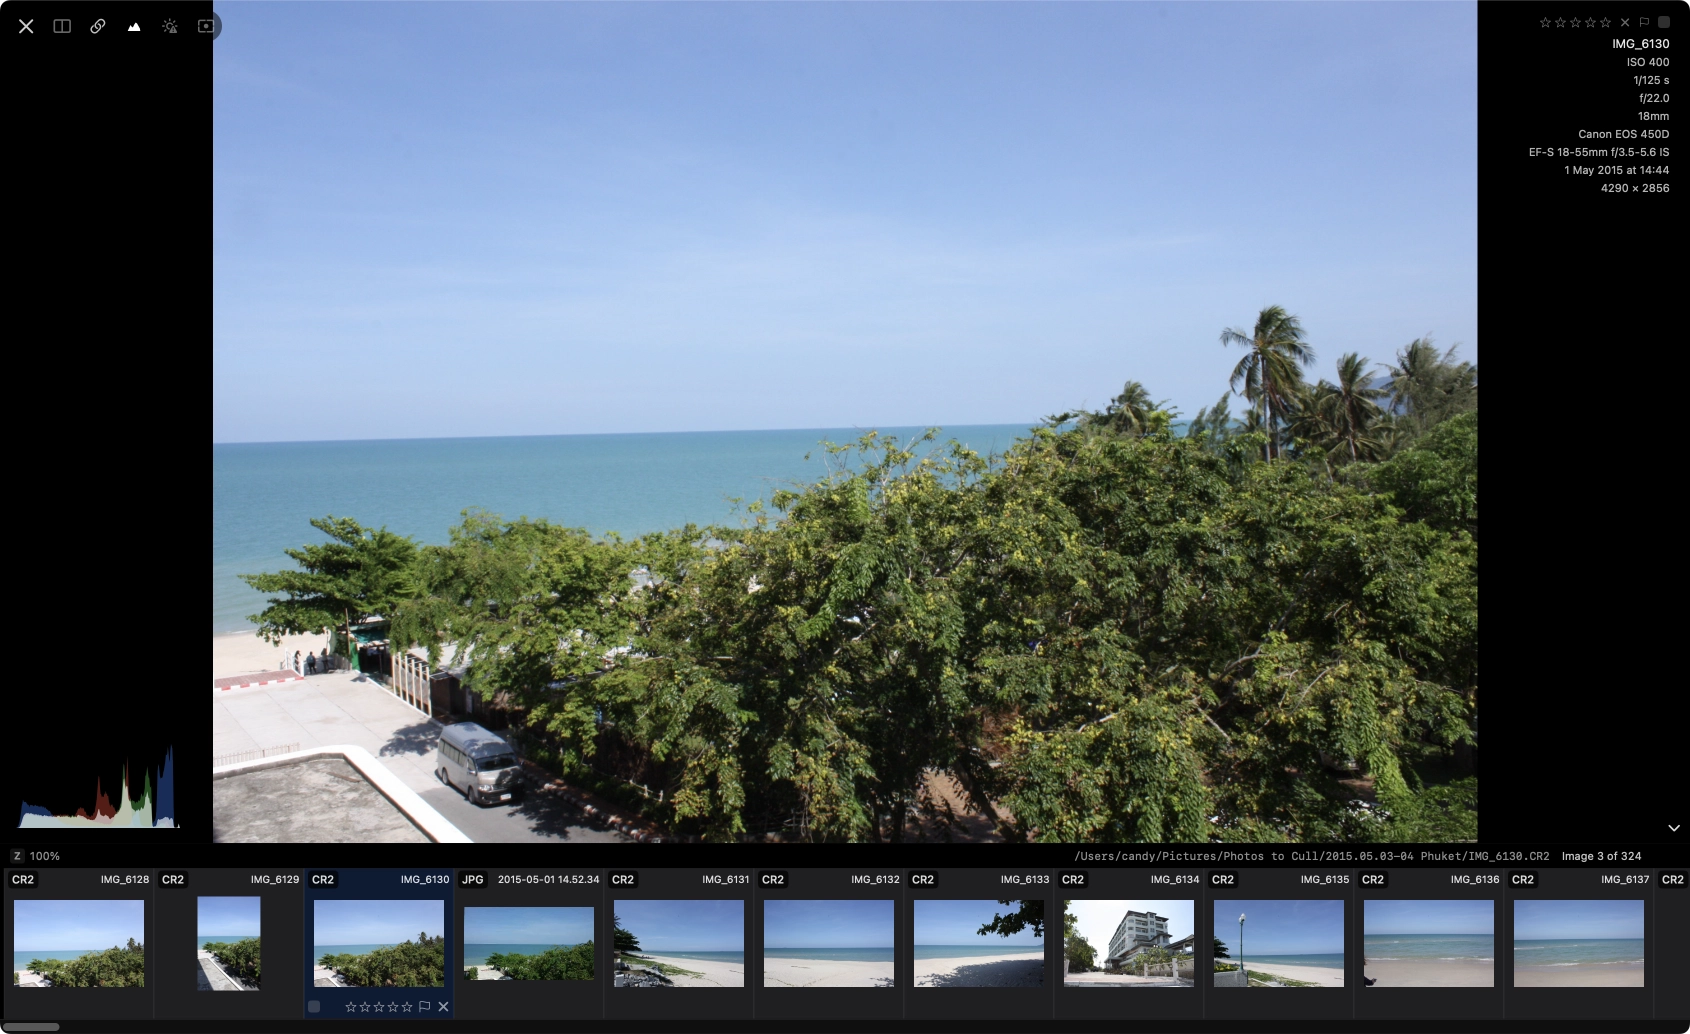
Toggle View
Press Space to open Full View from Grid View or List View. Press Space or Esc to return. In crop mode, Escape cancels the crop first.
Navigation and Culling
Use ←/→ or A/D to move between photos. Ratings, labels, flags, favorites, and rejection apply to the focused photo, including in comparisons.
Auto-advance is off by default. Enable it in Settings > General or the Full View More menu, and choose which culling actions trigger it.
Settings > Full View > Keyboard navigation speed controls held-key navigation: System follows macOS keyboard settings; Fast, Medium, and Slow limit the repeat rate. Fast is the default.
Compare Two or Four Photos
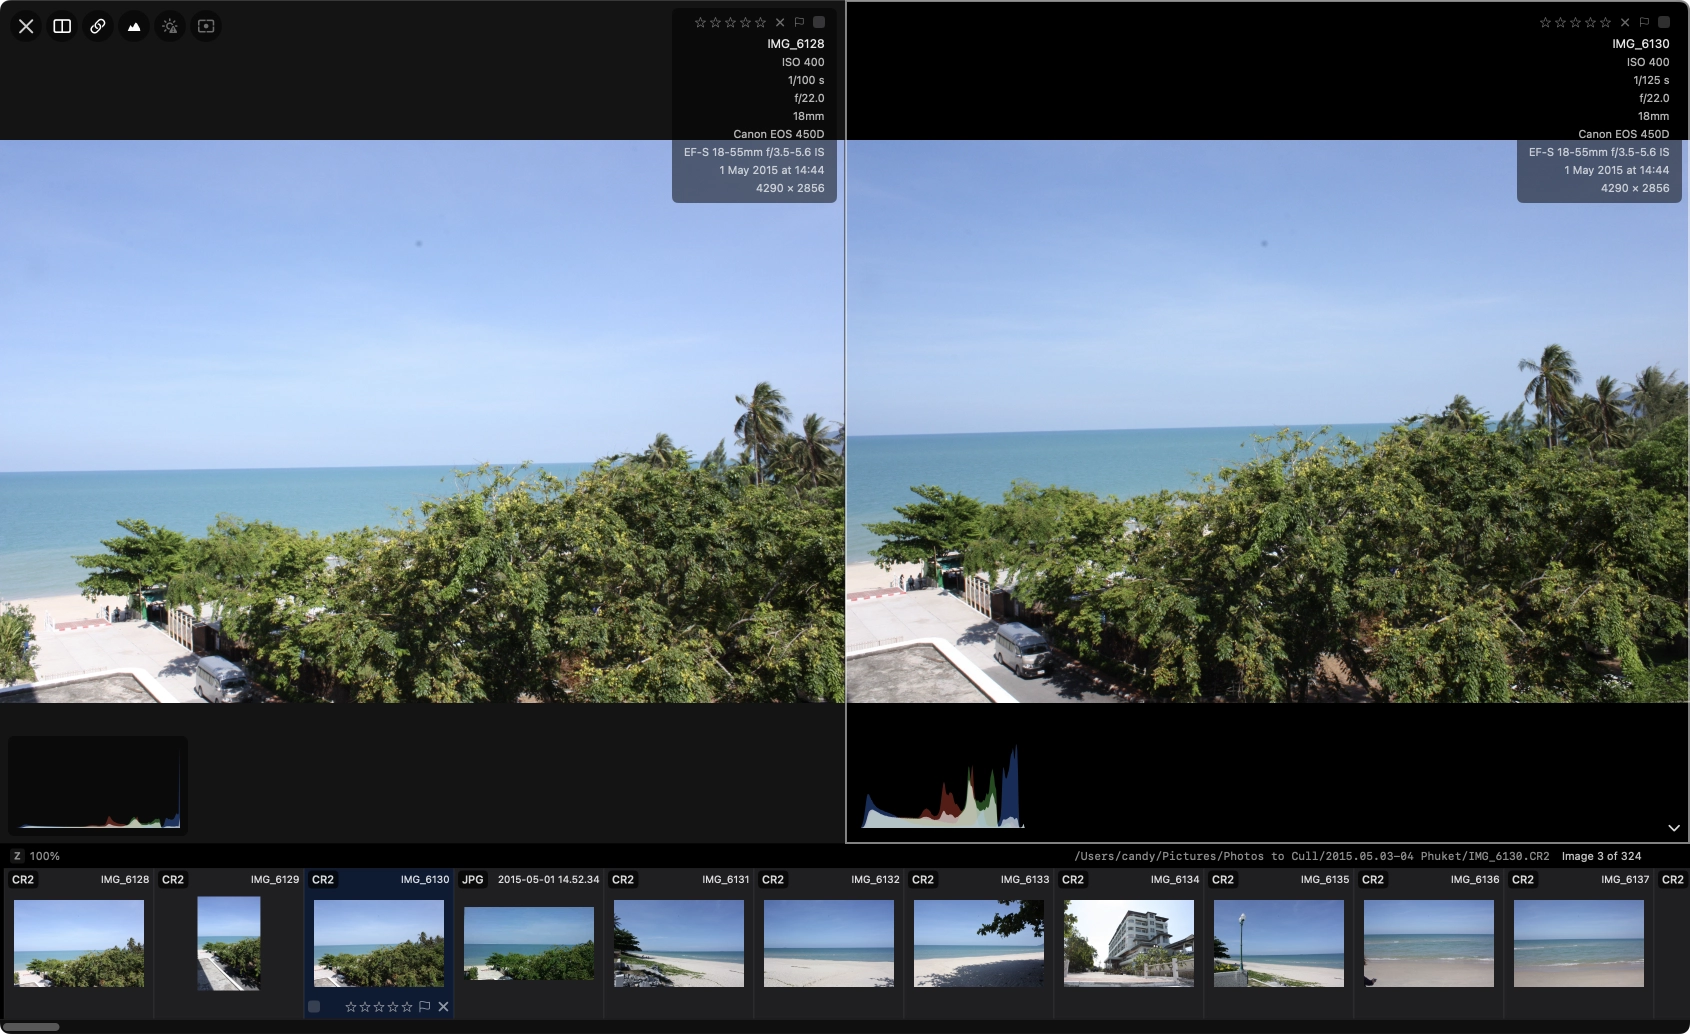
- Press Q for two panes, or Shift + Q for four. The toolbar has buttons for both layouts.
- Click a pane to focus it. Tab moves focus forward; Shift + Tab moves backward.
- Navigate normally to change only the focused photo. Use Option + ←/→ for the previous/next set, replacing all panes.
- Press the same comparison shortcut again to return to one photo.
Select multiple candidates in the browser before opening Full View to narrow the comparison. Comparison starts with the current photo and following photos in the navigation order. Near the end, unused panes stay empty. In two-pane mode, Settings > Full View > Reference image side chooses where the initial reference appears; you can still focus and change either pane.
Press L to synchronize zoom and pan across the comparison. This choice is remembered and is off by default.
Zoom
- Double-click to toggle zoom around the pointer; Z uses the configured Keyboard zoom anchor.
- Choose 2×, 4×, or 8× under Settings > Full View > Loupe zoom level.
- Pinch to zoom. Scroll behavior chooses scroll-to-zoom or scroll-to-navigate; trackpad scrolling pans when zoomed in scroll-to-zoom mode.
- Disable animations controls zoom/pan transitions.
With Keep zoom between images off (the default), arrow keys and navigation letters pan while zoomed. With it on, they navigate while retaining zoom and position. Navigate at zoom edge lets panning continue to another photo at the edge and is available only when Keep zoom is off. Grouped filmstrip navigation can take priority over these keys.
Switch Image Source
For a RAW+JPEG pair, press V to switch between the RAW and non-RAW image. It changes the preview preference, not the files, and resets when you close Full View. The RAW preview still uses your configured RAW decoder.
Set persistent preferences in Settings > Performance > Full Images: maximum loaded size, RAW+JPEG preference, RAW decoder, and Apple Photos version.
Crop Tool
Cropping saves non-destructive metadata rather than trimming the original pixels. It is available for photo items on sources that support metadata edits, not video-only items or comparison layouts. For Apple Photos and connected cameras, the crop is PhotoCuller metadata, not a native Photos edit or a camera/card write.
- Press C or click Crop to enter crop mode.
- Drag a crop box or adjust its edges, corners, and center.
- Choose Freeform, the original aspect ratio, or a preset. For your own ratio, open Custom, enter width and height, and click Add. Saved ratios can be reused or removed there.
- Use X to swap portrait/landscape for non-square constrained ratios. The rotation slider straightens up to 45° either way.
- Click the checkmark, press Enter/Return, or press C again to save. Esc cancels the current edit; the trash button clears the saved crop.
Displaying Saved Crops
Open Settings > General > Crop and turn off Show crop overlay to display the finished crop in Full View and thumbnails. With the setting on (the default), PhotoCuller shows the full image with a crop outline. This is a viewing preference: it does not alter the original pixels or remove the saved crop.
Copy and Paste Crops
Use Edit > Copy Crop and Paste Crop, or the photo context menu. In Full View, paste targets the focused photo; in the browser it targets selected eligible photos. Rotation and the crop’s aspect ratio are preserved when dimensions differ. There are no default copy/paste-crop shortcuts.
Subject Panel and Closed-Eye Warnings
Press G to toggle the Subject Panel for the focused photo.
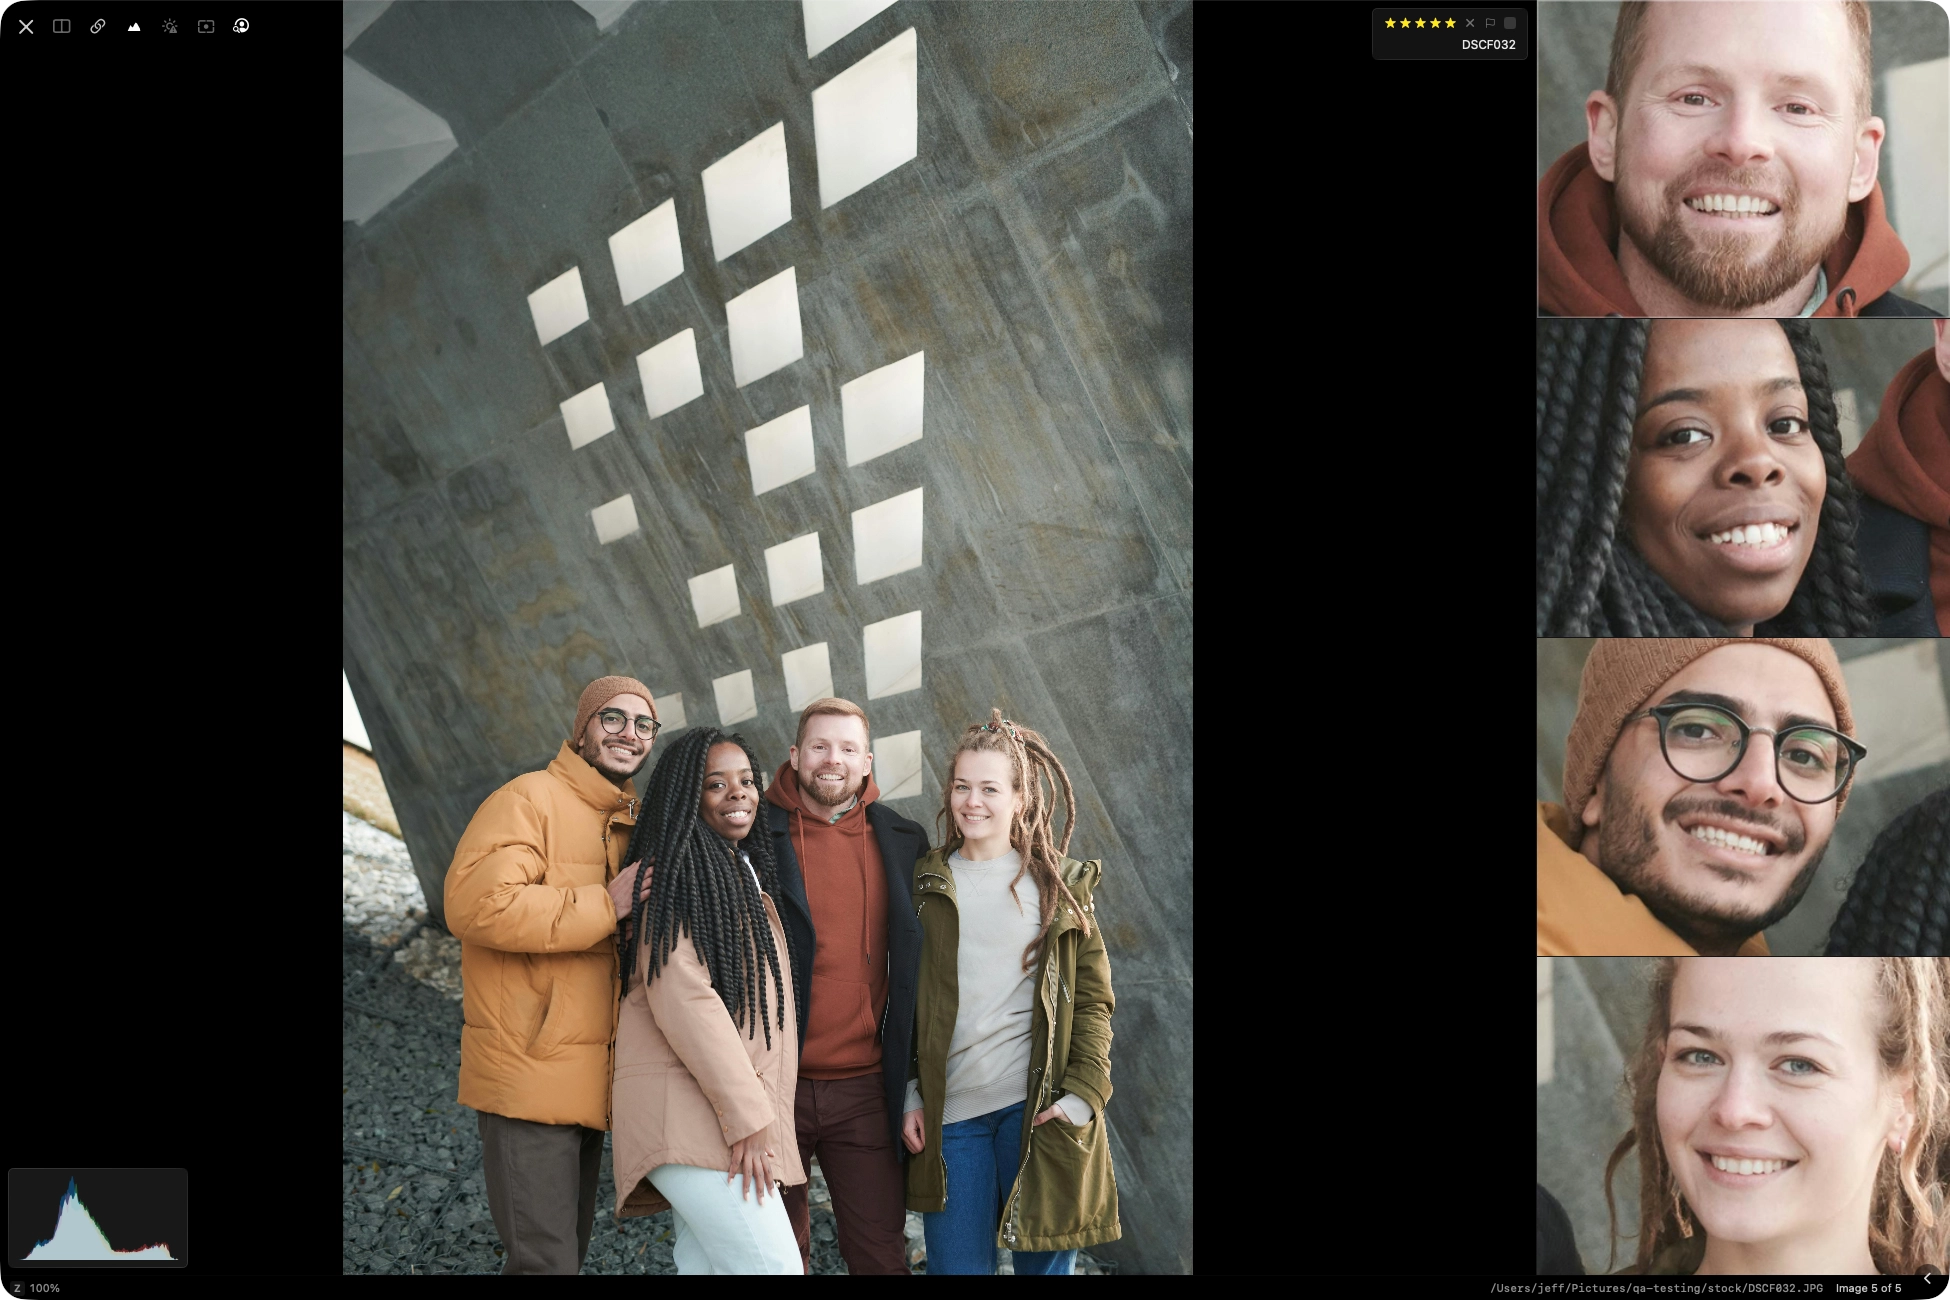
- Inspect detected faces, supported pets, or foreground subjects. A single subject opens enlarged; click one in a multi-subject grid to enlarge it.
- Choose the panel’s default position in Settings > Full View > Default subject panel position.
- An orange eye-slash badge flags a possibly closed eye. This is advisory and does not rate or reject the photo.
IPTC Editor Panel
Keyword a shoot without reaching for the mouse. Use a custom Focus Keywords shortcut to jump into keyword entry, add tags, and return to reviewing. You can map one Stream Deck button to each keyword and another to Save & Next; see the step-by-step keywording workflow.
Press I to open the left-hand editor for the focused photo.
- Apply or Cmd + Return saves the draft; Revert discards unsaved changes.
- The left/right save-and-move buttons, or Cmd + B/N, navigate to the previous/next photo. With auto-save off, apply the draft first or respond to the unsaved-changes prompt.
- Auto-save IPTC editor changes, under Settings > General, is off by default. When enabled, changes save on navigation or closing the panel, not on every keystroke. Otherwise, leaving unsaved changes prompts you to save, discard, or cancel.
- Apply Template… fills the draft from a saved template. The gear configures visible fields, shared with the right-panel IPTC editor.
See Metadata Editing for source-specific storage and editing access.
Overlays
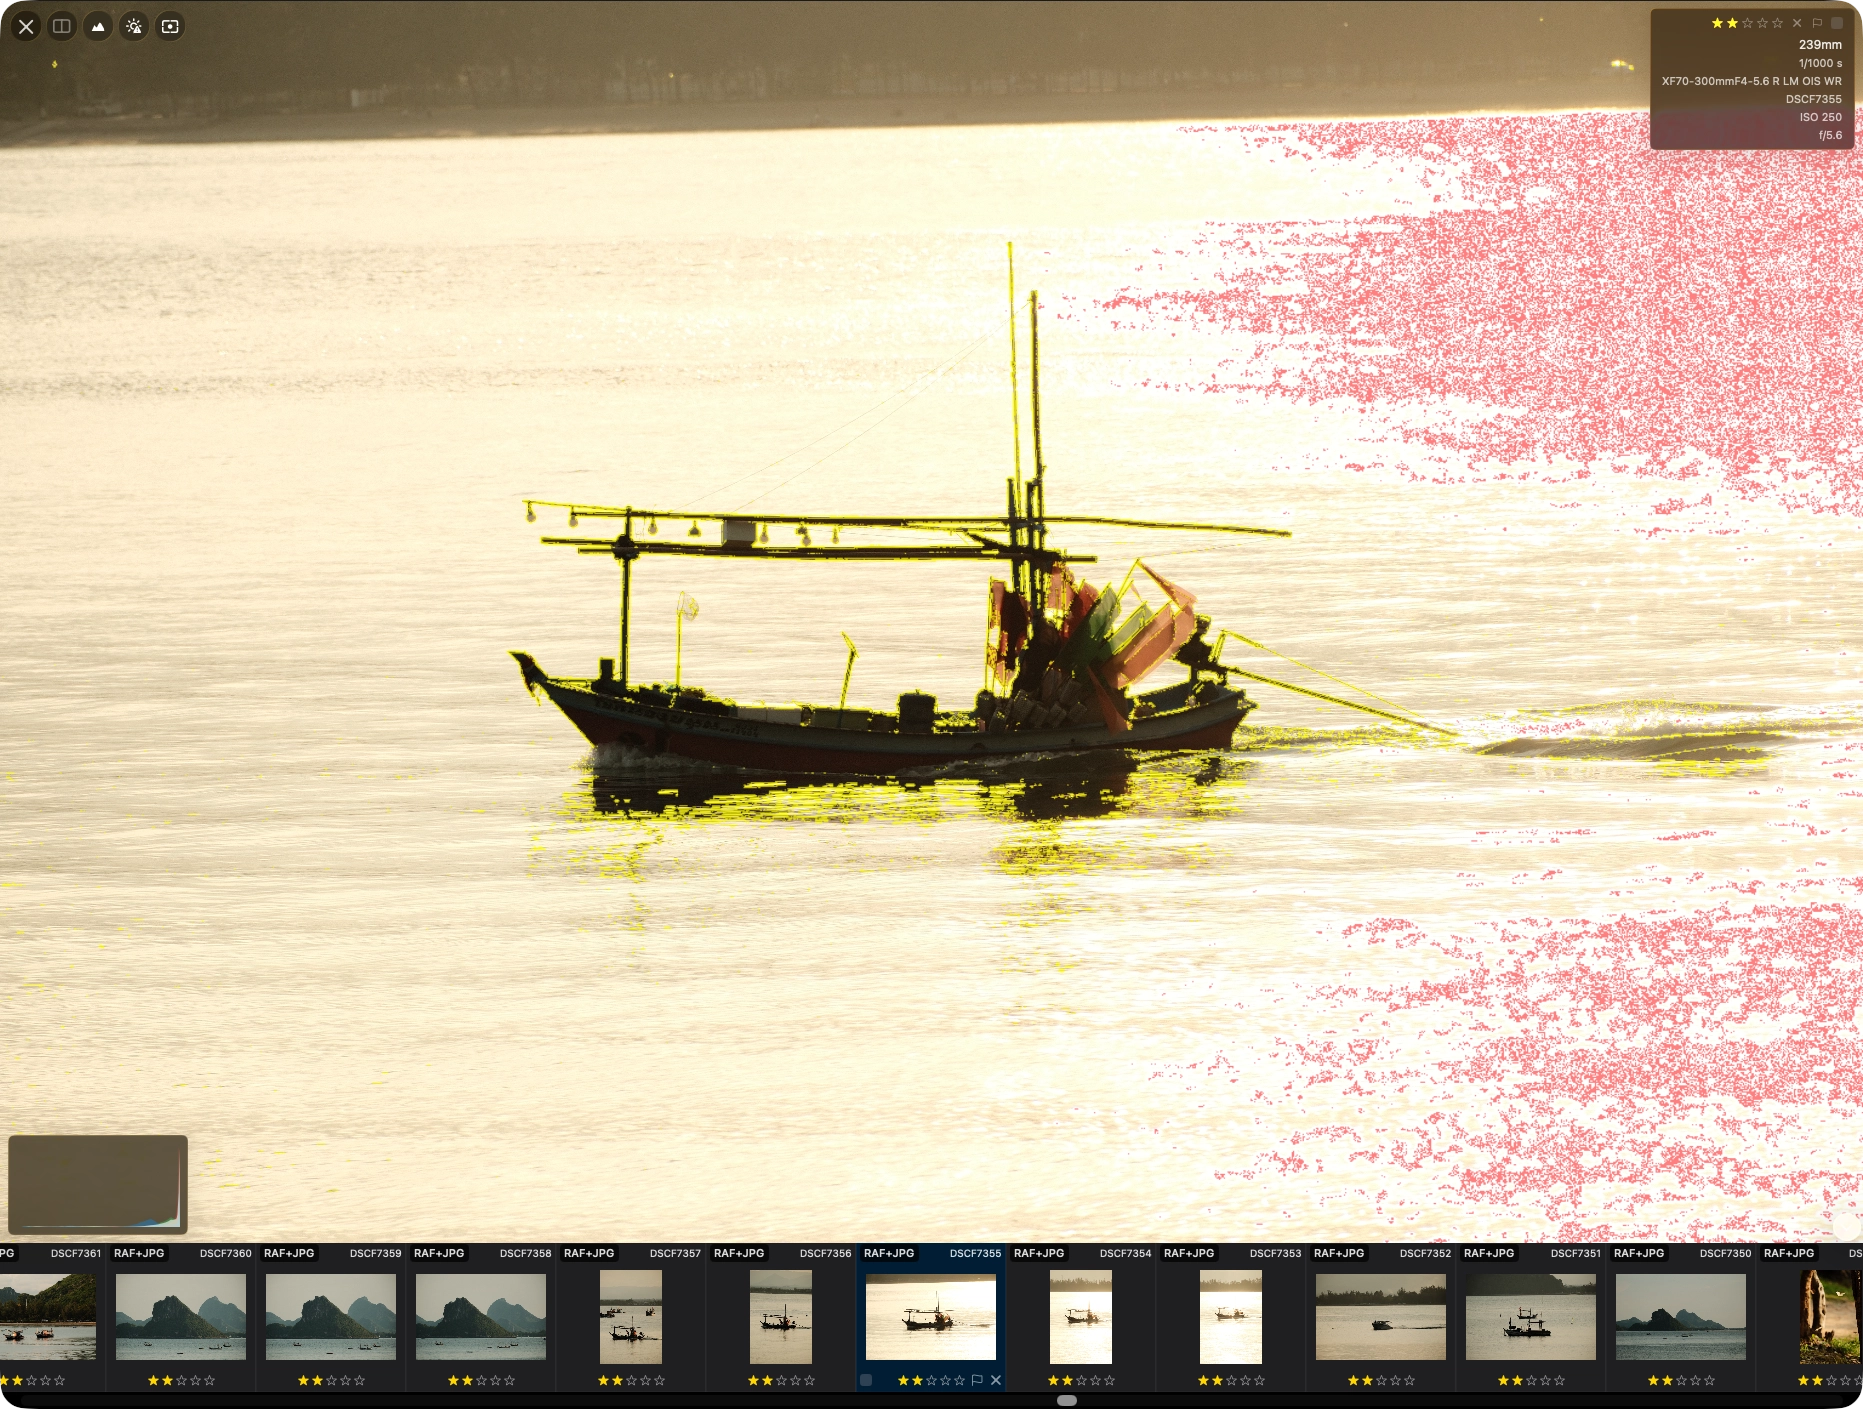
| Key | Overlay |
|---|---|
| H | Histogram |
| J | Exposure warnings: highlights red, shadows blue |
| K | Focus peaking |
The toolbar’s info button toggles the read-only metadata overlay. Configure its fields or custom layout in Settings > Full View > Info Overlay; use the toolbar or IPTC editor to change values. The More menu includes overlay positions and peaking appearance.
Filmstrip and Stacks
- ` toggles the filmstrip. Choose top, bottom, left, or right in Settings > Full View.
- E expands/collapses the current stack where stacking is available.
- With Group By active in the browser, the grouped-navigation toolbar control switches between grouped and flat navigation. Settings choose the arrow-key layout and whether navigation continues between groups.
- The optional status bar shows position, count, and zoom.
See Grouping and Similar Scenes for grouped navigation details.
Zen Mode, Frame, and Background
PhotoCuller remembers Zen Mode separately for Grid View and Full View, including after you quit and reopen the app.
Shift + Z toggles Zen Mode: a compact culling panel replaces the normal controls, filmstrip, and status bar. Auto-hide Zen overlays controls whether the panel fades away when idle.
B toggles a margin around the fitted image. Set Frame margin and Background color in Full View settings, or use More while reviewing.
Rotation and Video
[/] rotate filesystem photos left/right by writing orientation metadata. For supported video sources, rotation changes playback only. Video-only items have playback controls instead of photo-analysis overlays. Click a Live Photo to play its motion. See Video Support for playback controls, autoplay, and keeping Live Photo files together.
Bin Presets
Tools > Bins and the context menu route the focused photo, not every comparison pane. In review mode, filmstrip Bin numbers show assignments; the shipping-box control opens the whole-tab transfer review. See Bin Presets before using Move.